遠近感をもったオブジェクトのレンダリング
Home > Maya Lesson
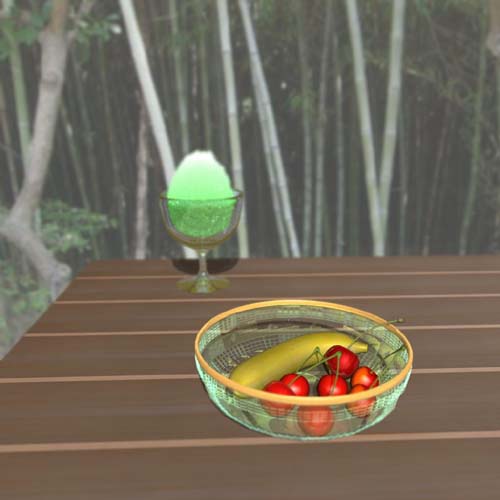
遠近感をもったオブジェクトのレンダリング(背景画像付き)●背景画像を作る
Create/Polygon Primitives/Plane/□Width: 80
Height: 60
Subdivision along Width: 1
Subdivision along Height: 1
Axis ◎ Z
など、シーンの背景に大体合わせる
Hypershade/Create/Materials/Lambert
Planeを選択
Hypershade/lambert2/▼Assign Material to Selection
lambert2をダブルクリックしてAttribute Editorを開く
Common Material Attributes項目で
Color [ ] □をクリック
Texturesタブ/2D Textures/File
File Attributes項目
Filter Type: Mipmap
Image Name: [ ] 横のフォルダアイコンをクリック
Tallboy\SharedDocs\Mayaテクスチャ\背景画像フォルダ
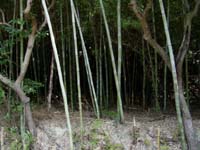
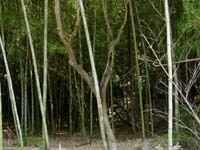
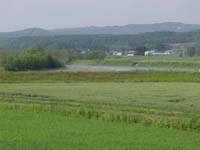
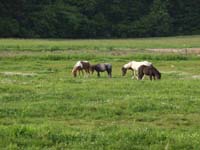
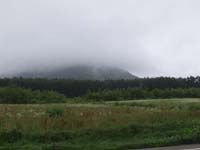
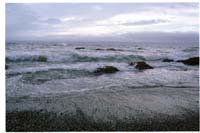
適当な背景画像を選択/Open
Attribute EditorはClose
●被写界深度ボケ(DOF)の設定
View/Camera Attribute Editor/perspShapeタブDepth of Field項目
[x] Depth of Fieldにチェック
Focus Distance: 24.000など調整する。
ピントが合う位置までのカメラからの距離、これを測るには
Display/Heads Up Display/Object Detailsにチェックをいれると
その後選択したオブジェクトまでの距離が表示されるのでその値を使う。
(Maya 3.0では距離測定機能はないようだ)
F Stop: 10.000など調整する。
被写界深度の範囲。大きいほど広い範囲でピントが合う。
Focus Region Scale: 1.000など調整する。
ピントの合う範囲にスケールをかける。大きいほど被写界深度ボケが少なくなる。